How to Make an AI Explainer Video, Start to Finish
A 30-second explainer on the invention of the elevator, from the first prompt to the final export. About 30 minutes of work and 6,200 credits.
Explainer videos work because they take something you would normally have to read and turn into something you just watch. That is the whole appeal, and it is exactly the kind of project MITO is built for: one idea, a handful of generated scenes, a voiceover and a score, all inside the same canvas.
Here is the walkthrough we used to build a real one. A 30-second, stop-motion-style explainer on the invention of the elevator, from the first prompt to the final export.
Start with a story people already half-know
The idea does not need to be complicated. It needs a hook someone already has a foothold in. Ours: the Otis elevators sitting in half the apartment buildings in San Francisco. Most people have ridden one and never wondered where it came from, so “here is how that got invented” does the work for you before you have written a single scene.
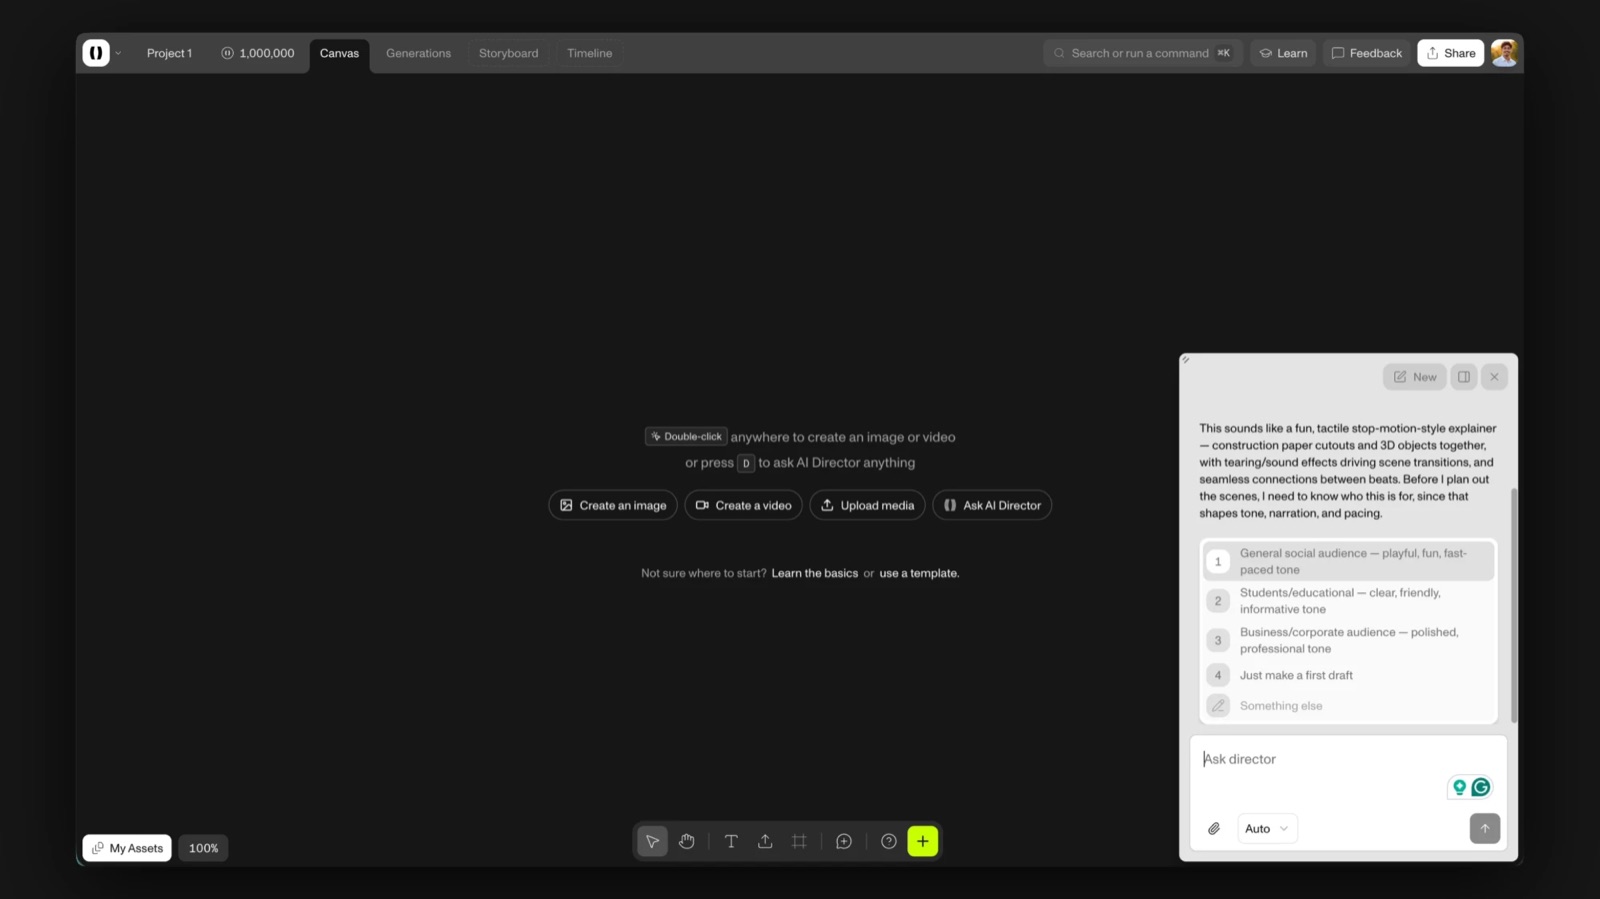
Once the idea is set, describe the whole thing to Director in one message. The topic, the visual style (construction paper, stop-motion, tear noises and sound effects, 3D objects and characters), and one instruction that matters more than it sounds like it should: every scene has to flow seamlessly into the next.
That last part is not a style note. Video generations run on key frames, the start, end or in-between images a scene is built from, so asking for seamless scene-to-scene transitions up front is what makes six separate generations read as one continuous film instead of six disconnected clips. If key frames are new to you, start here.
Let Director ask you the questions first
Before it builds anything, Director asks who the video is actually for and what format it needs. That is worth answering deliberately rather than skipping past.
Broad, top-of-funnel content plays differently than something built for a classroom. And 16:9 horizontal is the right call for YouTube even though vertical technically performs better on TikTok. Answer both up front and the tone and shape of everything Director generates after this lines up with what you actually meant.
Lock your references into Elements before you generate anything
Once Director has a brief and a shot plan, the next move is not to jump into video. It is to build out Elements: a Character element for the tinkerer, and separate references for the elevator across its three eras.
Elements are what MITO uses to hold identity and continuity across shots. Define one once, then @mention it in every scene prompt after that instead of re-describing the same character or object every time.
Skip this and you will notice it later. The character starts drifting, an outfit changes shade, a face reads slightly off by shot four. Building the Element up front is the fix, not a cleanup step after the fact. More on how they work in Keep the same character in every shot.
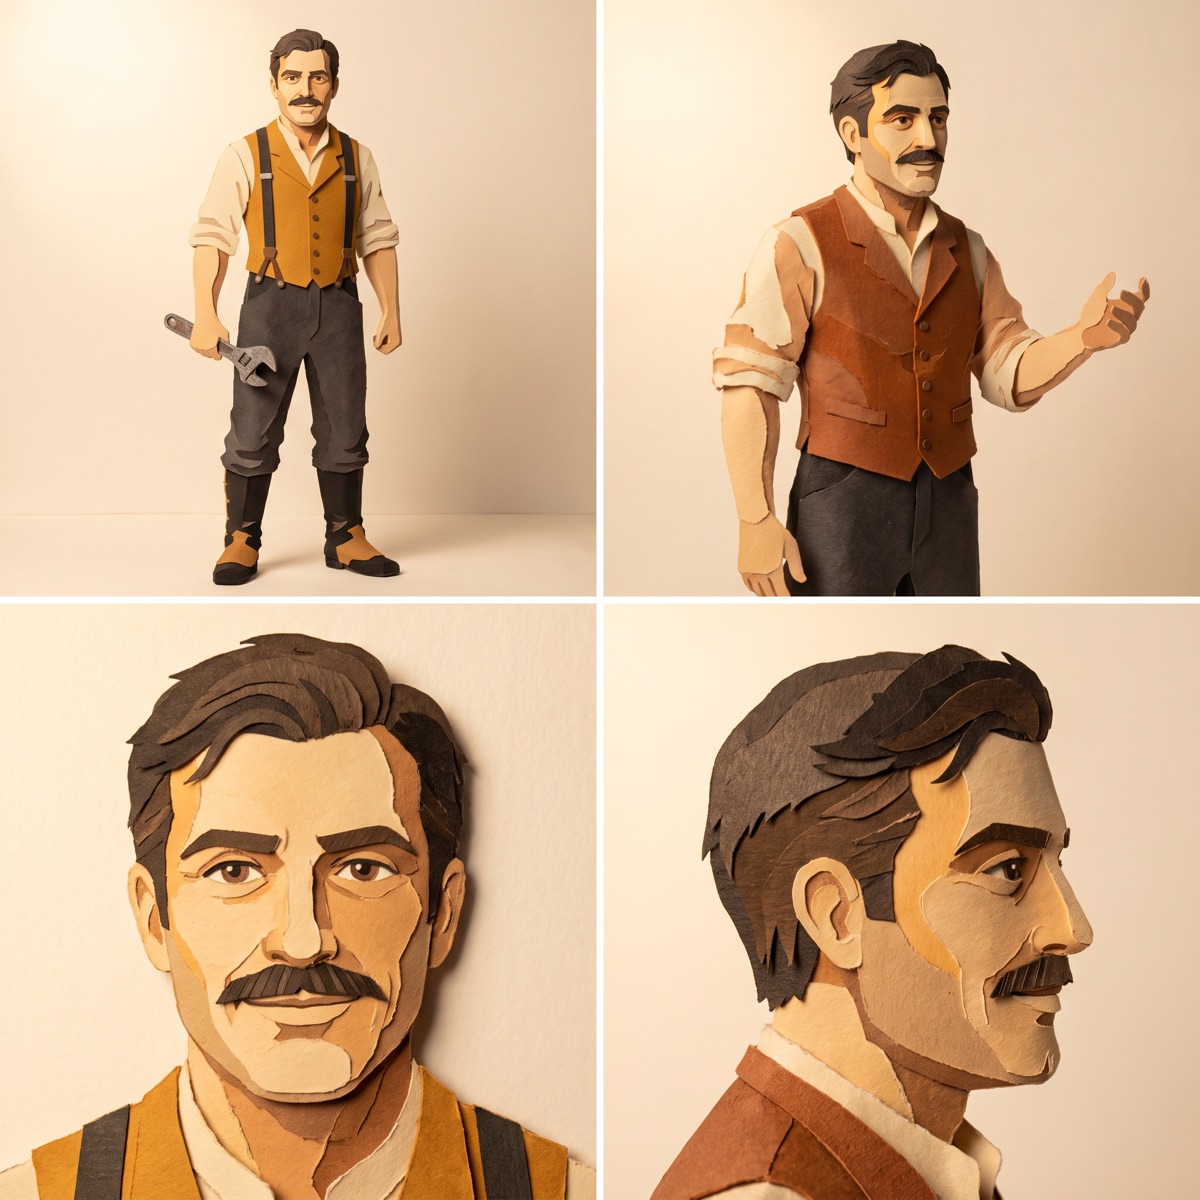
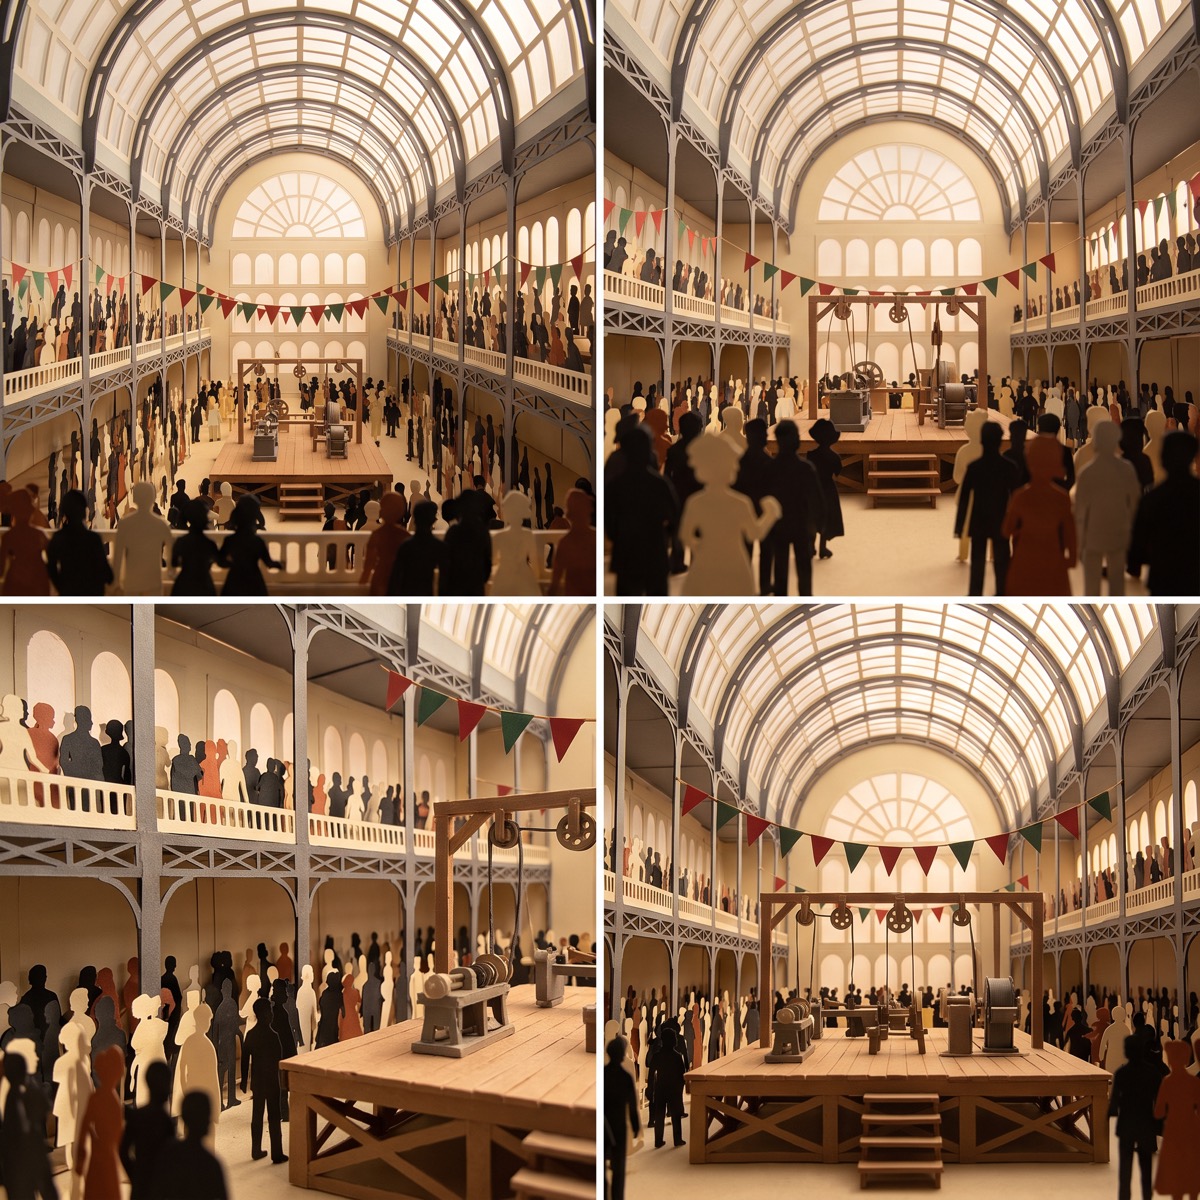
Two of the Elements: the inventor and the exhibition hall, each built across several angles so the model has something to hold on to from any shot.
The style reference does the same job for the look of the film rather than for anything in it.
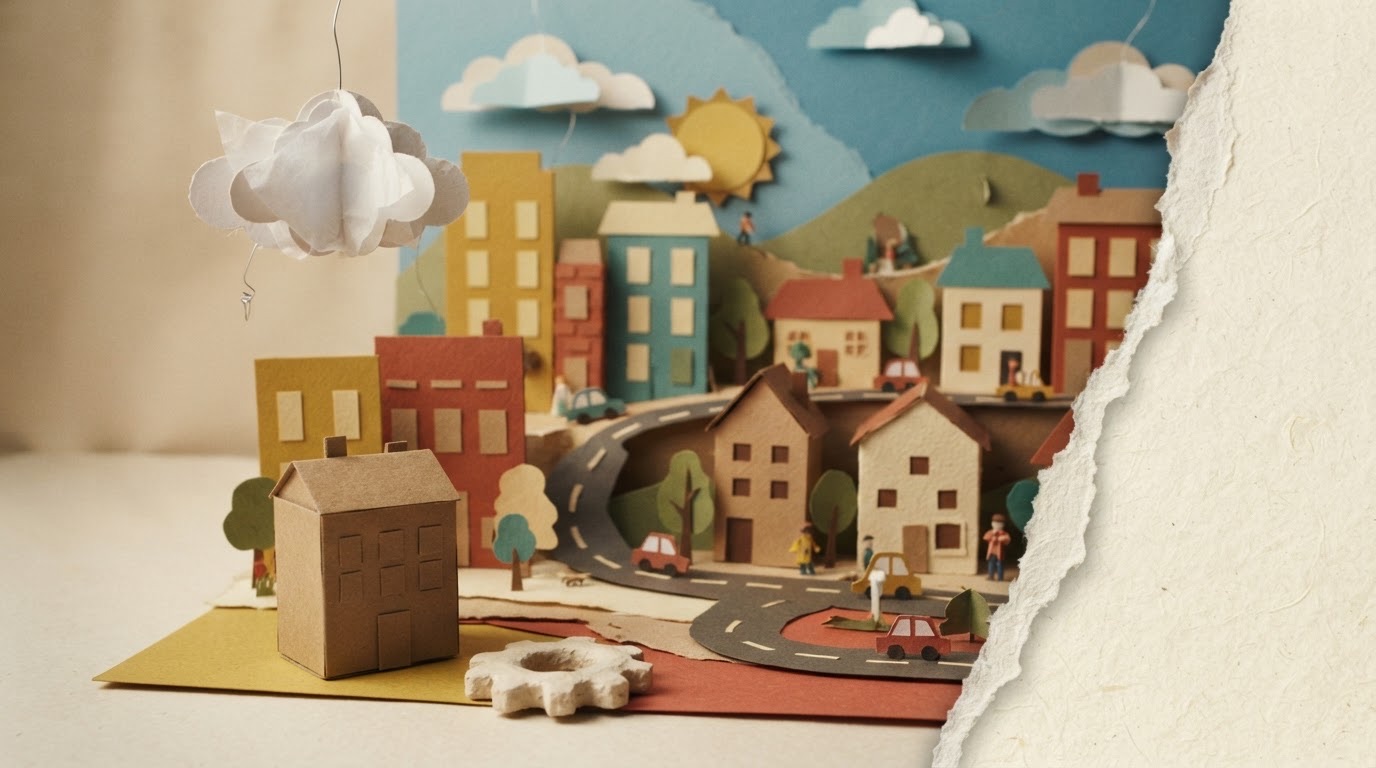
One idea becomes six key frames
With Elements set, the shot plan turns into actual images: one key frame per scene. Six scenes, six key frames, each one @mentioning the right Elements so the character and the elevator read consistently frame to frame.
Two workspace habits worth keeping while these generate. Shift+A auto-aligns whatever you have selected on the canvas, and Shift+G groups it into a labeled box, so your references do not turn into visual noise by scene four.
And worth knowing if you are counting credits: talking to Director costs nothing. Asking it questions, getting a second opinion on a shot, having it explain a step, none of that spends credits. Only the generations do.
Catch continuity errors at the key frame, not the video
Watch every generated clip on its own before moving on, not just the whole sequence back to back. Two things slipped through on this build, and both were caught the same way.
The character drifted. Scene two came back with a full beard, a blue vest and brown trousers, when the Element has a moustache, a rust vest and grey trousers. Nothing in the shot is wrong exactly, it is just not the same man who appears in the scene before it.
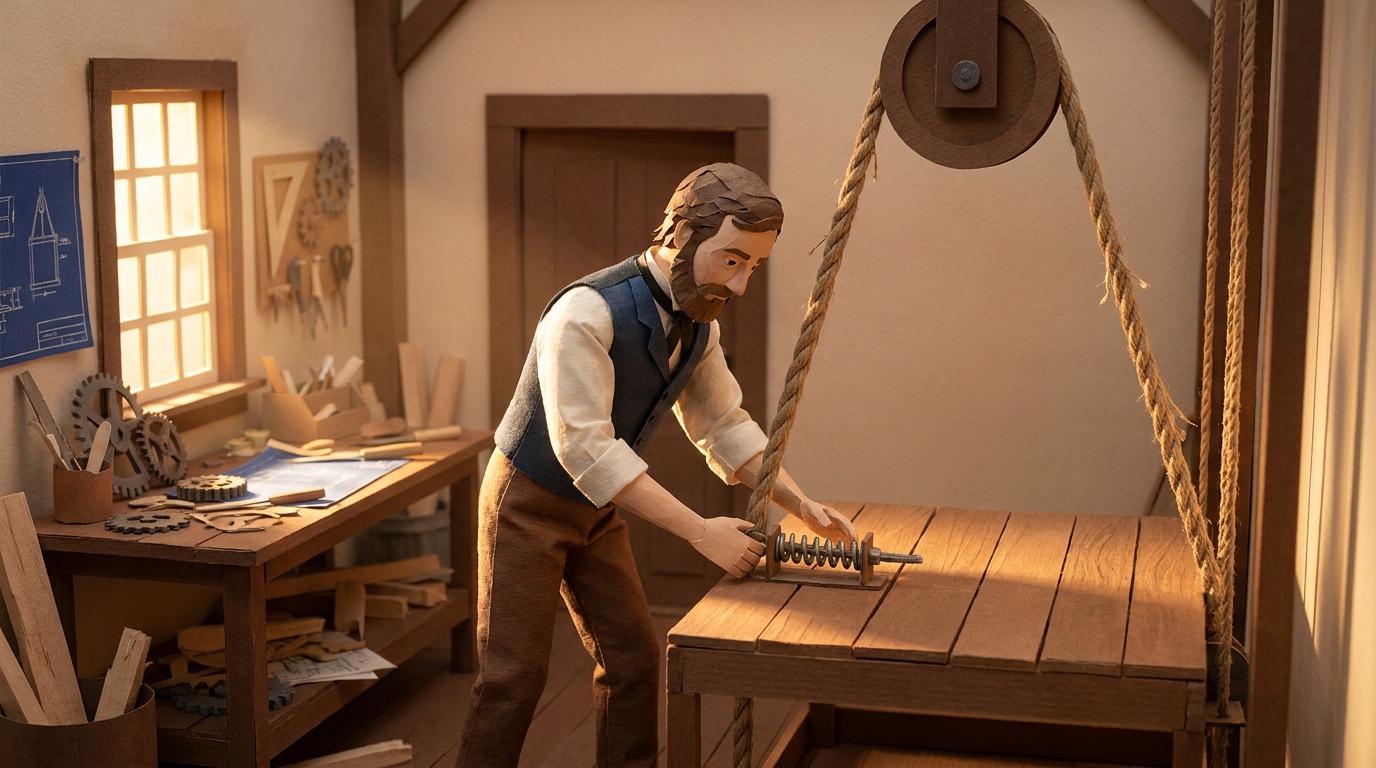
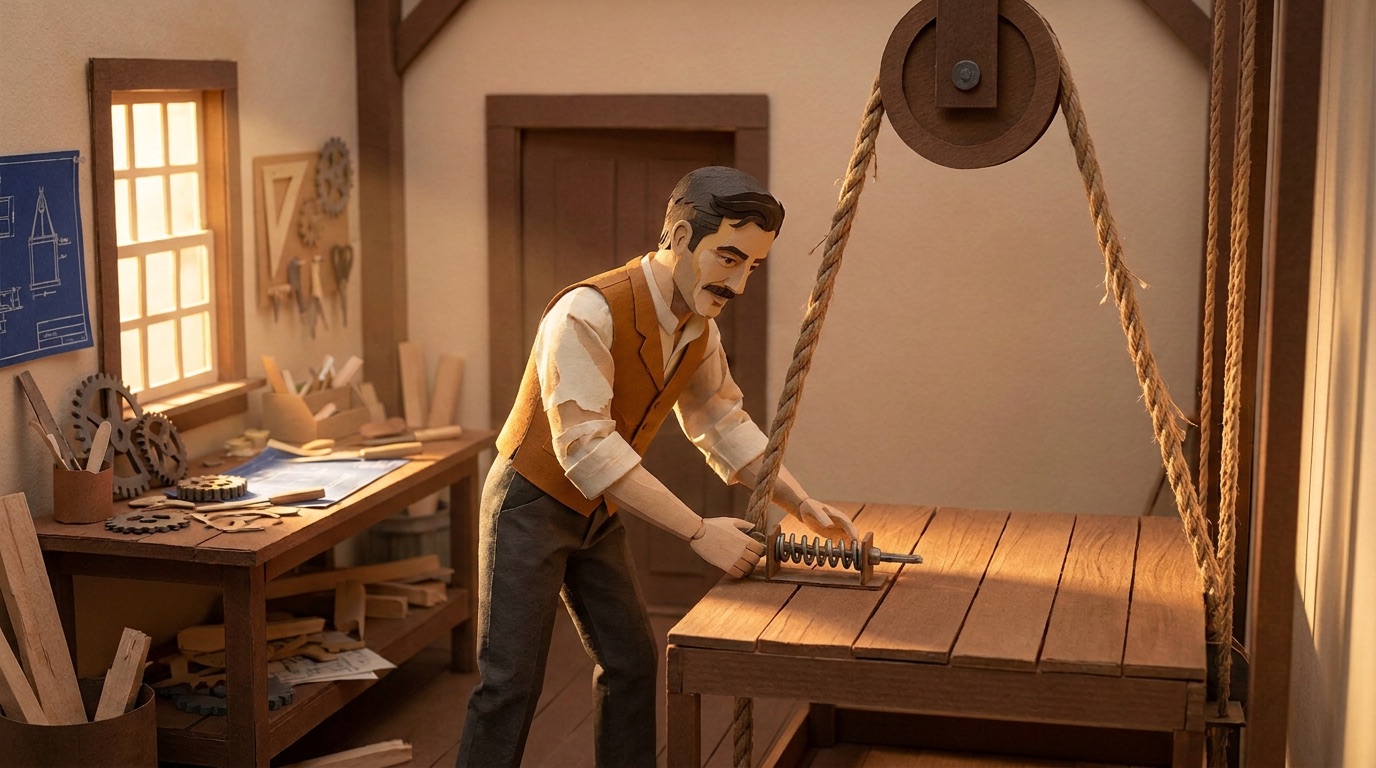
Same room, same staging, same spring on the bench. The only thing that moved is the man, which is exactly the kind of drift a Character element exists to stop.
And a rope broke early. One scene had a rope that was already snapped in the key frame, but the generated video showed it still trembling, as though the break had not happened yet. Small thing, and it reads as “off” even to someone who cannot say why.
The fix in both cases is the same, and it is not to regenerate the video and hope. Go back to the key frame, correct it there, then regenerate the clip from the corrected frame. The video is only ever as accurate as the frame it came from.
That is also the cheapest place to fix it. A wrong key frame costs one image to redo. A wrong video costs the video.
One prompt to score it, one prompt to trim it
With every scene generated and the continuity fixes in place, open a second Director chat and ask it for a voiceover that sits on top of the video and carries the story across every scene. Naming the chat something like “VO” keeps your workspace legible. You do not need clean grammar in the request either, Director works from what you mean.
Once the voiceover is in, assemble the clips on the timeline. It behaves like any editing software: video, audio, images, text and transitions on tracks, with position, rotation and speed adjustable per clip.
From there, one Director message can do double duty. Score the whole thing with music and add the voiceover on top, in the same request rather than two separate ones. If the pacing feels off on playback, say so directly. Faster, more exciting, trimmed under the length you need. Let Director make the pass instead of re-cutting by hand.
What it cost
The full build, six generated scenes, one continuity fix, a voiceover and a score, came to about 6,200 credits and roughly 30 minutes, most of which was waiting on generations rather than working.
Worth saying where the cost actually sits: regenerations. Every shortcut taken before the Elements were built came back later as a scene that needed running twice. Getting the references right first is the cheapest thing in this whole workflow.
Not sure which model to reach for at each stage? The video model guide breaks down what each one is good at.
The short version. A hook worth explaining. Elements locked in before you generate. Key frames checked before the video is. And one honest fix along the way when a step gets missed.
None of that requires the story to be complicated. It just requires the workflow to hold together, and that part is on the tool.
Want to watch the whole thing being built? The full walkthrough is at the top of this post, and on our YouTube channel.
Keeping a character steady across a whole sequence is the piece most people lose first. The full method is in How to Keep AI Video Characters Consistent.
Frequently asked
- How long does it take to make an AI explainer video?
The Otis elevator example in this post ran about 30 minutes start to finish, and most of that was generation time you are not actively working through. The prep, meaning the idea, the brief and the Elements, takes longer than the generating does.
- Do I need animation or stop-motion experience?
No. The visual style, in this case construction paper with tear-noise sound effects, is a direction you give Director in your first prompt. It is not a skill you need going in.
- Does talking to Director cost credits?
No. Only generations spend credits, meaning images, video and audio. Asking Director questions, getting a second opinion on a shot, or having it explain a step costs nothing.
- How many credits does a 30-second explainer cost?
This one came to about 6,200 credits: six generated scenes, one regenerated scene after a continuity fix, a voiceover and a score. Your number moves with how many times you regenerate, which is the main reason to get your references right before you start.
- What if I forget to ask for a voiceover?
Open a second Director chat and ask for it directly, referencing the finished video. You do not need to restart the project or regenerate anything that is already done.
- How many reference images should I build per Element?
Enough to cover the angles or eras your shot plan actually needs. This project used three for the elevator, covering its 1850s, early and modern versions, plus a Character element for the inventor.
- Can I use this workflow for a topic that is not historical?
Yes. The structure holds for any 30-second explainer: a hook, Director’s clarifying questions, Elements, key frames, a continuity check, then voiceover and score. The elevator is just the worked example.
The AI tool for cinematic video.
Generate, direct, and publish professional videos — powered by the best AI models.
More posts