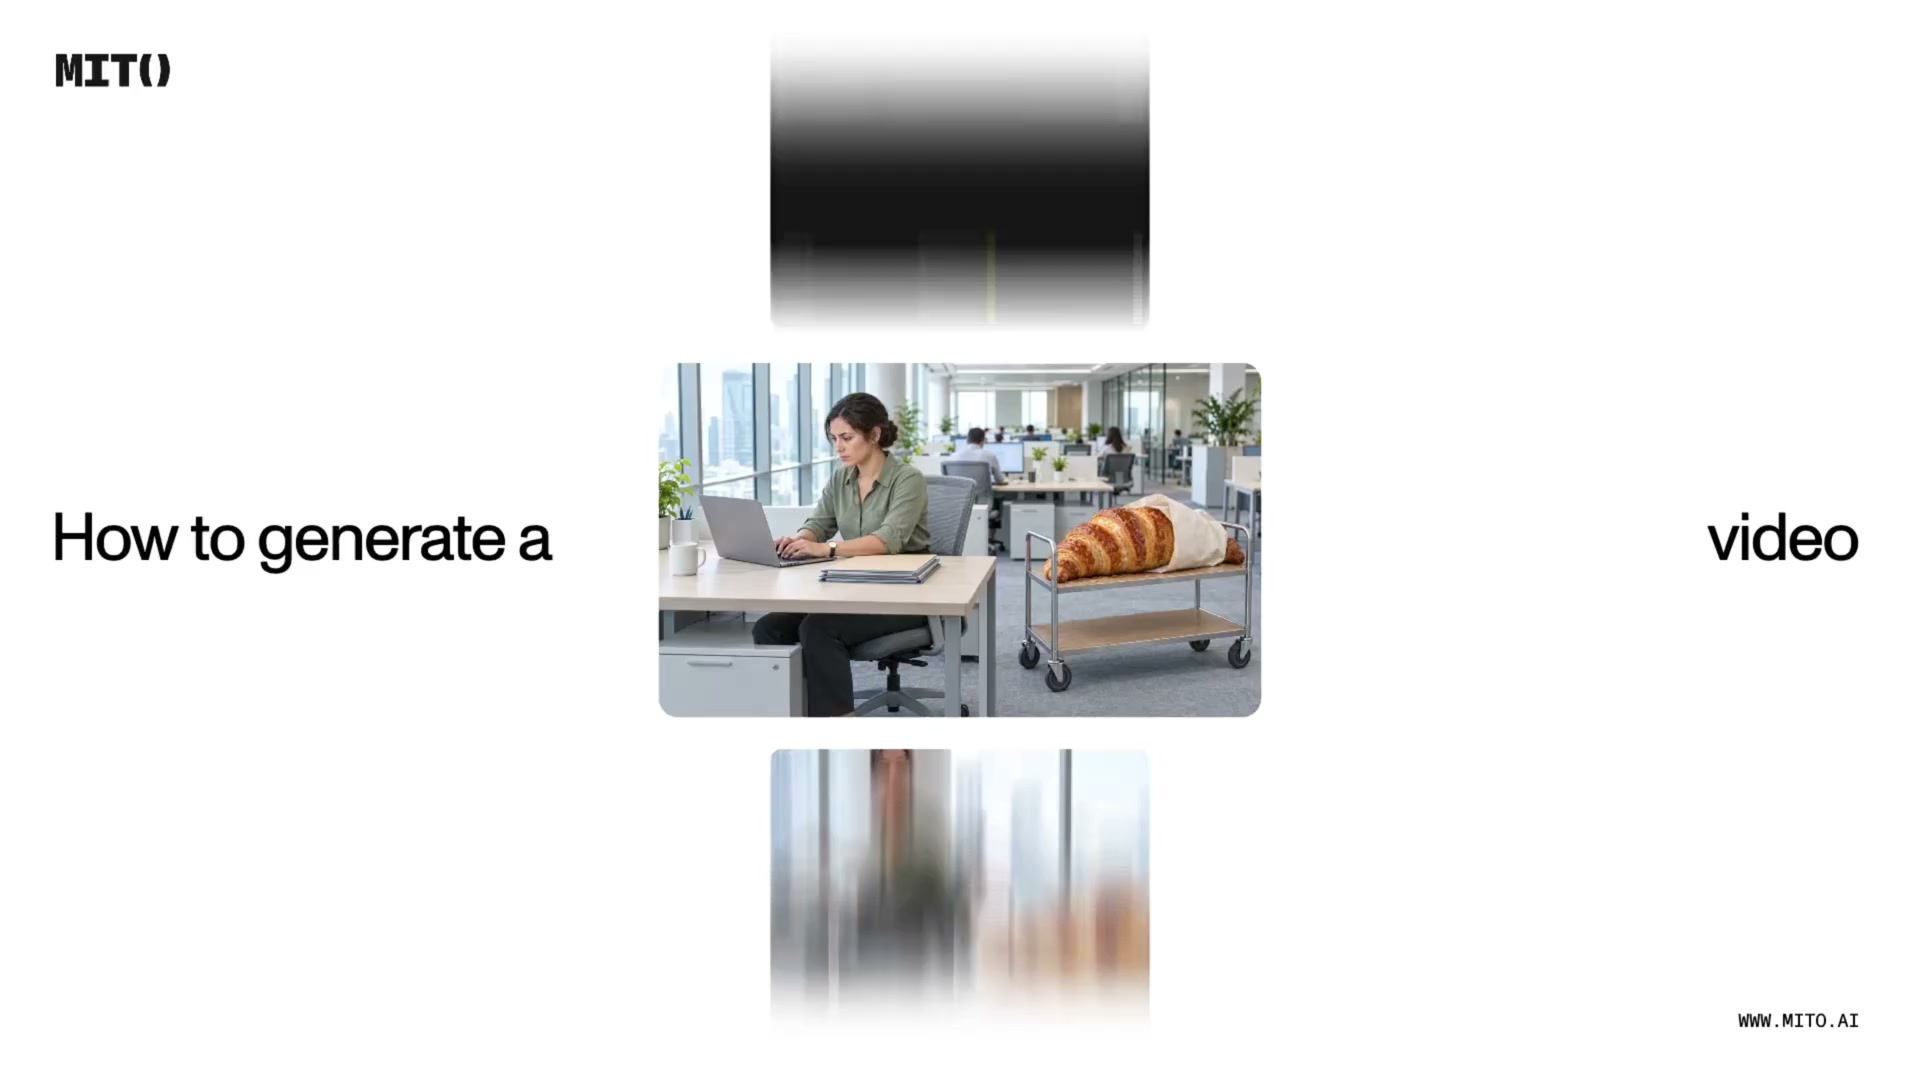
How to Keep AI Video Characters Consistent
One strong reference, one locked style block, one well-placed negative constraint, reused identically across every shot. That is the whole method.
If you have generated more than a handful of AI video clips, you already know the problem. Your character looks right in the first scene, then the face, outfit or build quietly drifts by the third shot. Technically it is the same character. It does not feel like it.
Here is the method we use in MITO to stop that happening.
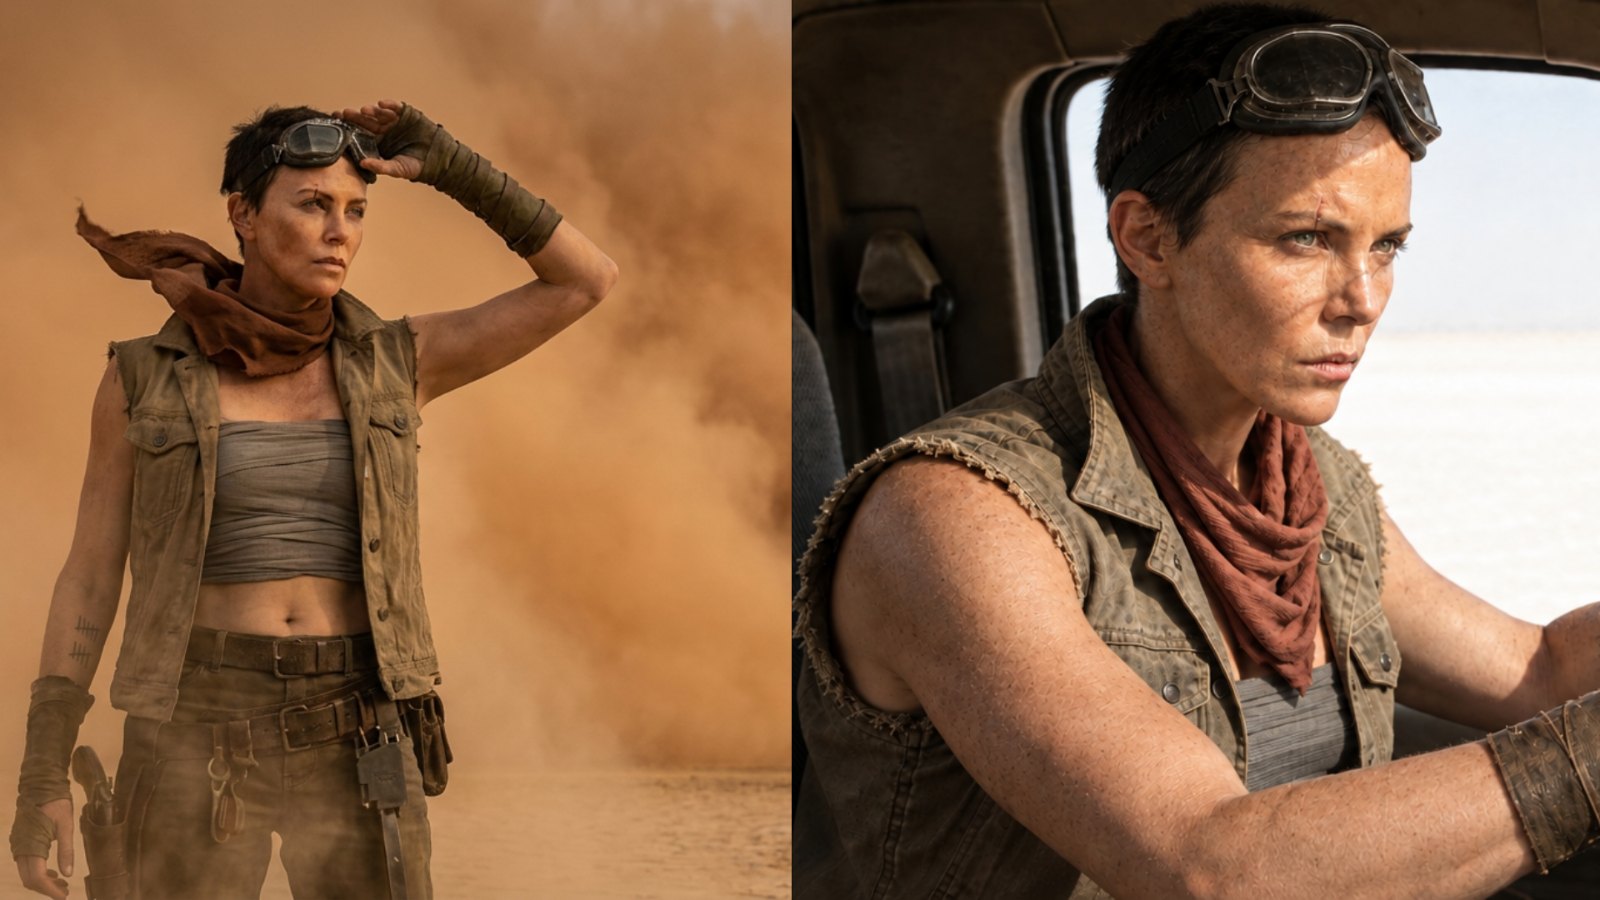
Why consistency breaks in the first place
Every generation is independent by default.
The model is not remembering your character between shots unless you deliberately anchor it to something. No anchor, no consistency. That is the whole problem, and naming it plainly is what makes the fix land.
Building the anchor
The technique comes down to one move. Generate a single strong reference image first, your character’s best possible still, and reuse that exact image as the anchor for every shot after it.
In MITO, this is what Director is doing under the hood. It builds its own character identity and scene references before generating a film, which is why its output holds together scene to scene. You can do the same thing deliberately with Elements.
If you are working purely off prompt discipline rather than a saved-reference feature, the equivalent is to lock a style block: wardrobe, lighting language, lens language, location. Then reuse that block word for word on every shot. Consistency is not just the face. It is everything around the character holding steady too.
Not sure which model to reach for at each stage? The image model guide and video model guide break down what each one is actually good at, so you are not guessing.
Where Elements come in
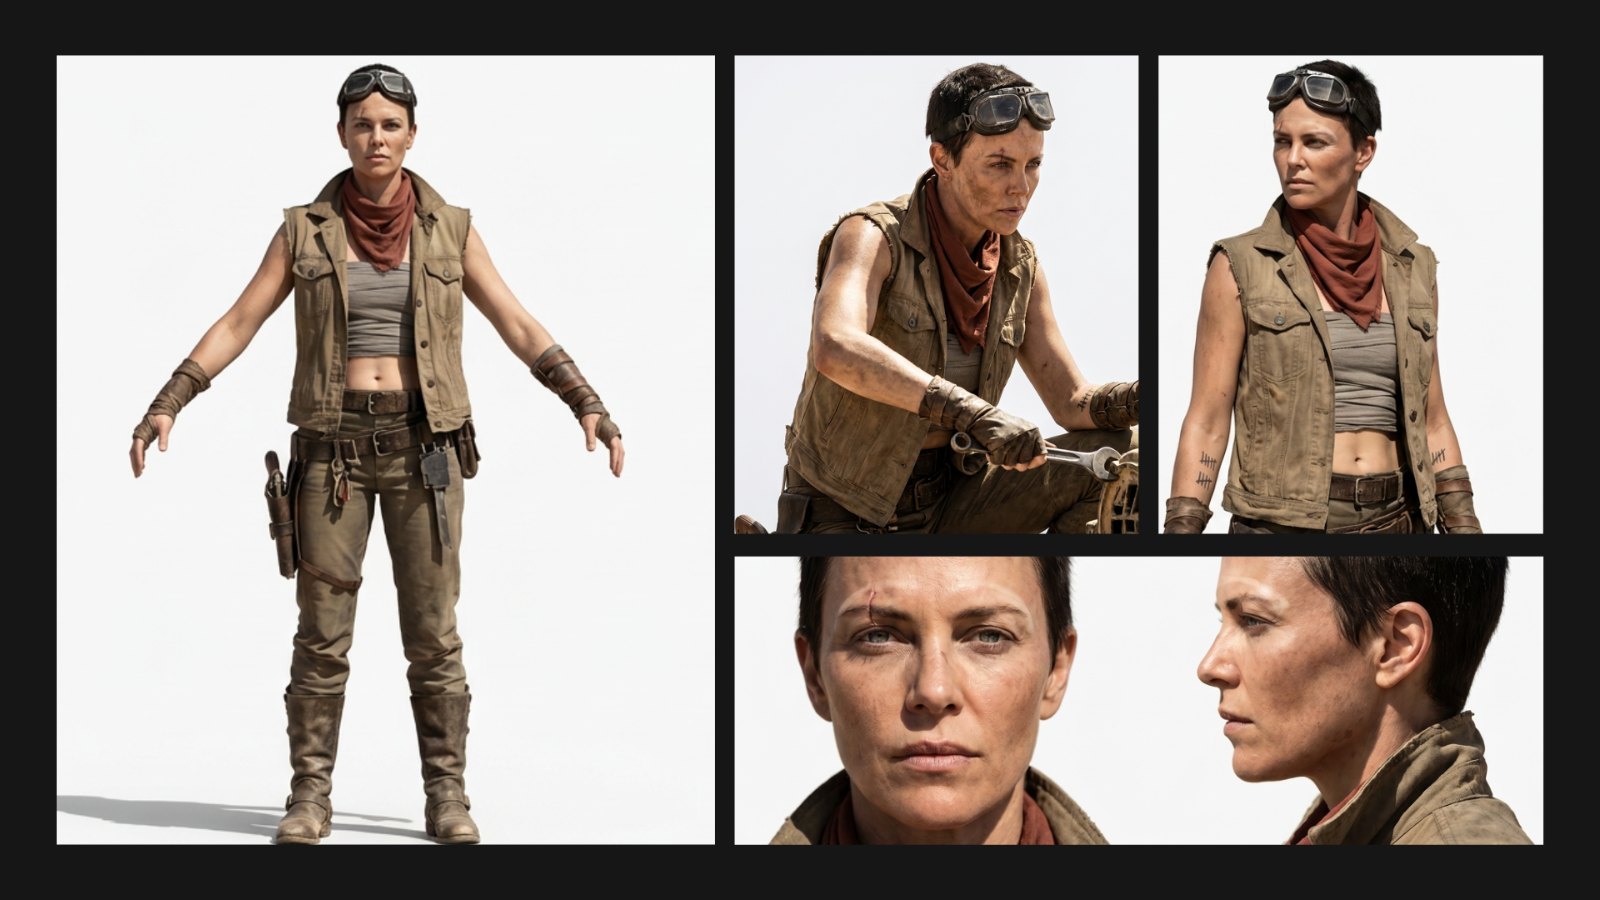
Elements are MITO’s answer to “how do I make the model remember my character”. The Elements panel has dedicated slots for Characters, Locations and Objects, so you are not retyping a description and hoping the model reads it the same way twice. You lock in a visual identity once and pull it back into every generation after that.
There are two ways to build one.
Let Director build it with you. Describe who the character is, what they look like, their build, their style, and Director translates that into an Element. Faster if you are still working out what the character should look like.
Build it from scratch. Open the Element card, select Character, upload your own reference images and write your prompt in full detail. Better if you already have a clear reference and want control from the start.
Either way, do not stop at one image. Generate more angles: sitting, standing, turned to the side. Switch the background to plain white so you are isolating the character rather than the scene. Once it is built, reference it by name with the @ symbol in every prompt after that, and MITO pulls in the locked reference instead of guessing again from text.

The full breakdown is in Keep the same character in every shot.
The trick nobody talks about: negative constraints
Most advice is about what to tell the model to do. The underused half is what to tell it to stop doing.
A negative constraint removes a specific drift artifact in real time. An extra finger. A changed jacket colour. A face that is subtly off. It is often the difference between a shot that reads as consistent and one that does not.
no eye glasses, no leather gloves, no change in his beard coloring
Half of looking consistent is just telling the model what not to invent.
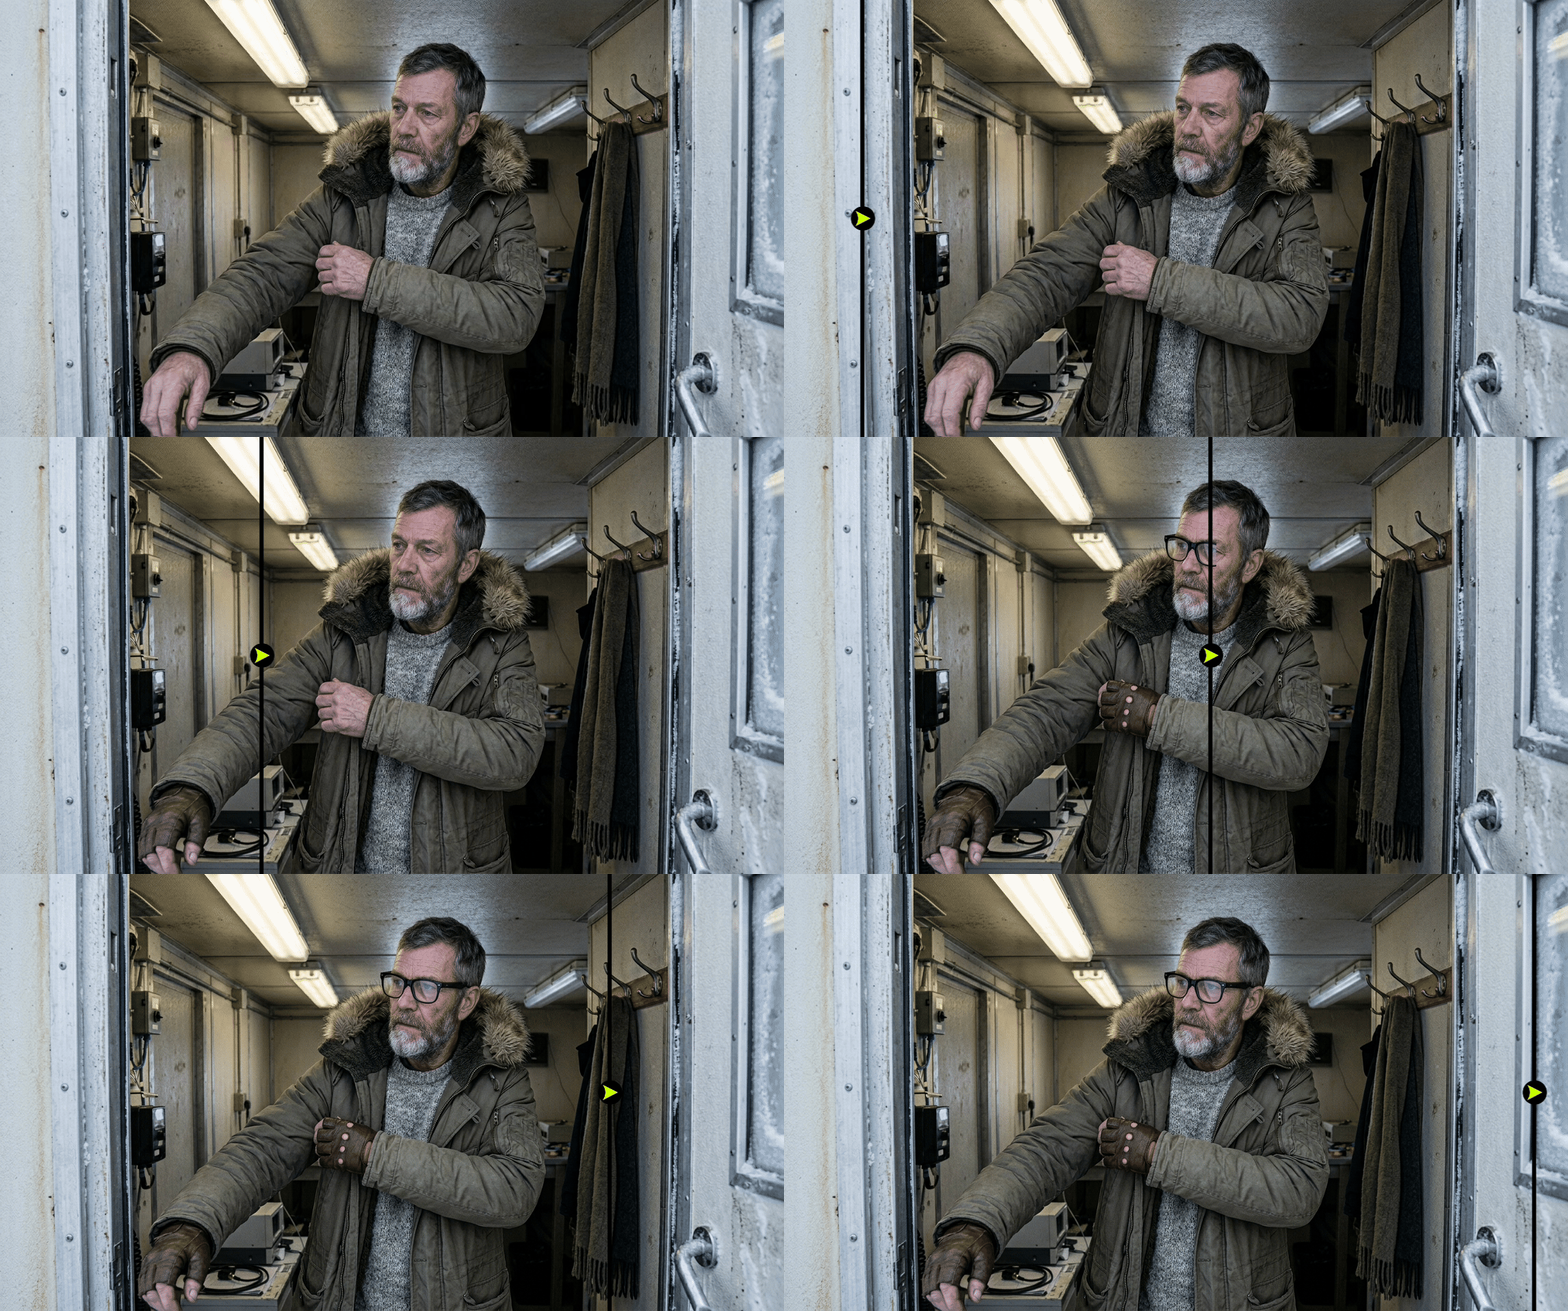 A negative constraint applied mid-generation, removing the drift artifact without touching the rest of the shot.
Close the loop
The best version of this does not teach the method and stop. It returns to the opening shot and labels it: same anchor, same style block, same constraint, right there on screen. That callback is what makes the lesson stick instead of feeling like disconnected tips.
Want to see the full method in action? Here is the whole thing, start to finish, in MITO.
The short version. One strong reference. One locked style block. One well-placed negative constraint. Reused identically across every shot.
That is the entire method. Everything else is just how well you show it.
Frequently asked
- Why does my AI-generated character look different in every shot?
Every generation is independent by default. The model has no memory of your character from one prompt to the next, so unless you deliberately anchor each new shot to a reference, it reinterprets your description slightly differently each time.
- What is the fastest way to fix character drift?
Generate one strong hero reference image first, then reuse that exact image, not just the text description, as the anchor for every shot after it. Pair it with a locked style block covering wardrobe, lighting and lens language.
- Does MITO have a built-in feature for character consistency?
Yes, it is called Elements. Build a Character, Location or Object once, either with Director’s help or from scratch with your own reference images, then reuse it by name with the @ symbol in every prompt. See Keep the same character in every shot.
- How is an Element different from repeating a description in my prompt?
A saved Element pulls in an actual locked visual reference every time you use it, not a repeated block of text. That is the difference between the model reinterpreting your description slightly each time and the model pulling from the exact same approved reference.
- What is a negative constraint and why does it matter?
It is an instruction telling the model what not to include, removing specific artifacts like extra fingers or a wrong outfit colour. It is one of the most underused tools for locking down consistency.
- How many reference images can I use?
It depends on the model. Some cap how many reference images you can attach at once, so check your model’s limits before building an elaborate reference sheet. The image model guide has model-by-model specifics.
- Can I use this method for multiple characters in the same scene?
Yes. The same anchor-and-style-block approach works per character. You need a distinct reference sheet and a consistent style block for each one, and a model that handles multi-subject composition well.
The AI tool for cinematic video.
Generate, direct, and publish professional videos — powered by the best AI models.
More posts