Your Third Day in MITO: Make a Character, a Place and a Product Stay Themselves
A single photo shows the model one angle. A sheet shows it the whole thing, which is the difference between a character who holds and a character who drifts.
Day 3 of 8 in the MITO onboarding series. See all eight days →
Day one got you generating. Day two got you planning and cutting. Today is the thing that separates a set of nice shots from a piece that looks like it was made by one person.
The problem is simple to state. You generate a woman in shot one, generate her again in shot four, and she is not quite the same woman. Same for the bottle. Same for the room.
Why it happens. One reference image shows the model a single angle in a single light. Everything it cannot see, it makes up again every time you press generate.
Characters and products: build the sheet
A character sheet is the same person from several angles in one reference. A product sheet is the same object from several angles. Same idea, same fix.
Character Builder and Object Builder, two and a half minutes.
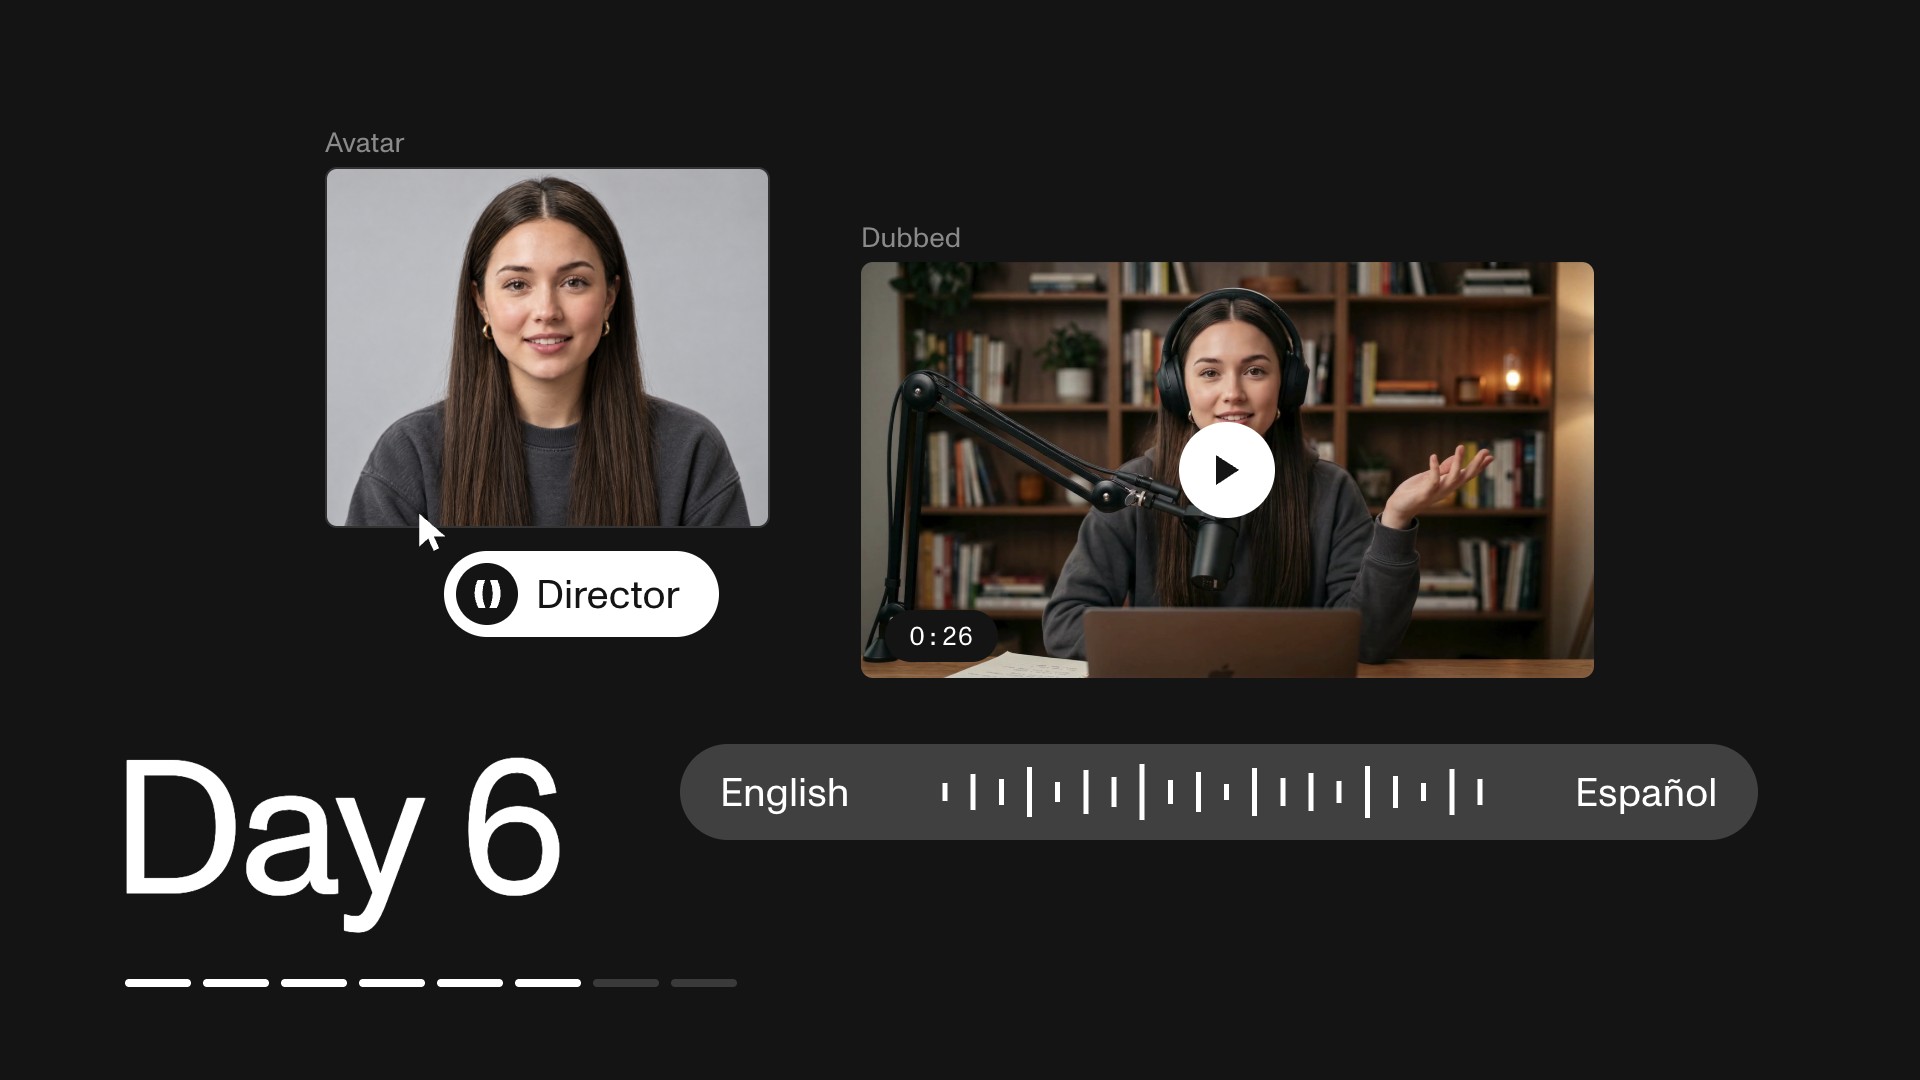
For a person. Start from a photo or from someone you generated in MITO, and Character Builder turns it into a sheet. From then on she arrives the same way in every shot, rather than being re-invented from one angle.
For a product or a prop. Object Builder does the same job. The walkthrough uses a bottle mockup: one side of a bottle against a sheet that shows it from several angles, then the same bottle in two different shots. It looks the same in both.
Then write it down too. The sheet fixes the look. The words cover what a photograph cannot: how big it is, what it is made of, how the light sits on it. Elements take both, and the ones that hold across a whole campaign always have both.
Places: Location Scout
Subjects are half of it. The other half is the room they are standing in.
Location Scout, a minute and a half.
Location Scout holds a set the way a sheet holds a character. Build the courtyard once, and it is the same courtyard when you come back to it in shot nine, from a different angle, at a different time of day.
This is also what makes start frames worth the effort. A good start frame plus a held location is most of what people mean when they say a piece looks expensive.
Where each thing goes
- A person goes in a character sheet, through Character Builder
- A product or prop goes in a product sheet, through Object Builder
- A place goes in Location Scout
- Rules that apply to everything go in a Document, which is tomorrow
Before you close the tab
Build one character sheet and one product sheet. Any person, any object. The product can be something off your own shelf.
Then use each one in two different shots. Not two variations of the same shot. Different framing, different light, somewhere the model has to work. That second shot is where you find out whether the sheet is doing its job, and it takes about four minutes to find out.
Tomorrow is a real brief, start to finish, with your brand guidelines doing the work.
The short version. One image is one angle. A sheet is the whole subject. Build sheets for your people and your products, build locations for your places, and test each one in two shots that do not look alike.
All of these walkthroughs are inside MITO too, under Tutorials in the sidebar.
Frequently asked
- Why does my character change between shots?
Because a single reference image only shows the model one angle in one light. Everything it cannot see, meaning the back of the head, the profile, the shoes, the way the jacket falls, it invents again on every generation. A character sheet shows the same person from several angles at once, so there is far less left to invent.
- What is the difference between Character Builder and Object Builder?
Only the subject. Character Builder makes a multi-angle sheet of a person, Object Builder makes one of a product or a prop. They solve the same problem in the same way, which is why the walkthrough covers them together.
- What is Location Scout for?
Places. It holds a set, a room or an exterior so it stays the same when the camera moves or the piece comes back to it later. Subjects go in Elements, places go in Location Scout.
- Do I need a photo to start, or can I describe it?
Either. You can upload a product photo or a portrait, or generate the subject in MITO first and build the sheet from that. The walkthrough does both: a woman generated in MITO, and a bottle mockup that was uploaded.
- Does a reference sheet replace writing a description?
No, and this is the mistake most teams make twice. A sheet fixes what the subject looks like. The written description covers scale, material, finish and the things no photograph shows, like what the inside looks like when it is torn open. Use both.
- How many shots should I test a sheet on?
Two, in deliberately different setups. One shot proves nothing, because the model may simply have copied your reference. Two shots in different framing and different light is where drift shows up if it is going to.
- Where do brand-wide rules go instead?
In a Document. Elements, objects and locations hold specific subjects. A Document holds the rules that apply to everything you generate in that project, which is what day four is about.
The AI tool for cinematic video.
Generate, direct, and publish professional videos — powered by the best AI models.
More posts