How to Make an AI Avatar of Yourself from One Photo
One photo, 20 seconds of your voice, and a script. Here is the whole build, plus the trick that makes it sound exactly like you.
To make an AI clone of yourself you need three things: one good photo, about 20 seconds of your voice, and a script. In MITO that happens in Avatar Studio, which turns a single photo into a talking, blinking, lip-synced presenter. The whole setup takes roughly five minutes.
Here is the proof. “Welcome to MITO University. Today, we’re going to learn how to make AI clones of ourselves.” That is the opening line of our latest tutorial, and nobody said it. An AI clone did.
This is the full walkthrough, so by the end you can have one of yourself. Stick around for the last section, where we skip voice cloning entirely and make the avatar speak in your real voice instead.
What you can use an AI avatar for
Before the how, the why. An avatar earns its keep any time you need someone on camera but do not want to set up a shoot every time.
- Spokesperson videos for a product or a brand, without booking a studio.
- Training and onboarding content, which is easy to update when the process changes and the old version is just wrong.
- Localisation. The same video in another language for another region.
- Short vertical clips at volume for TikTok, Reels and Shorts.
We make a lot of long-form content for YouTube and Instagram, so we built a clone. Here is how.
Step 1: Open Avatar Studio
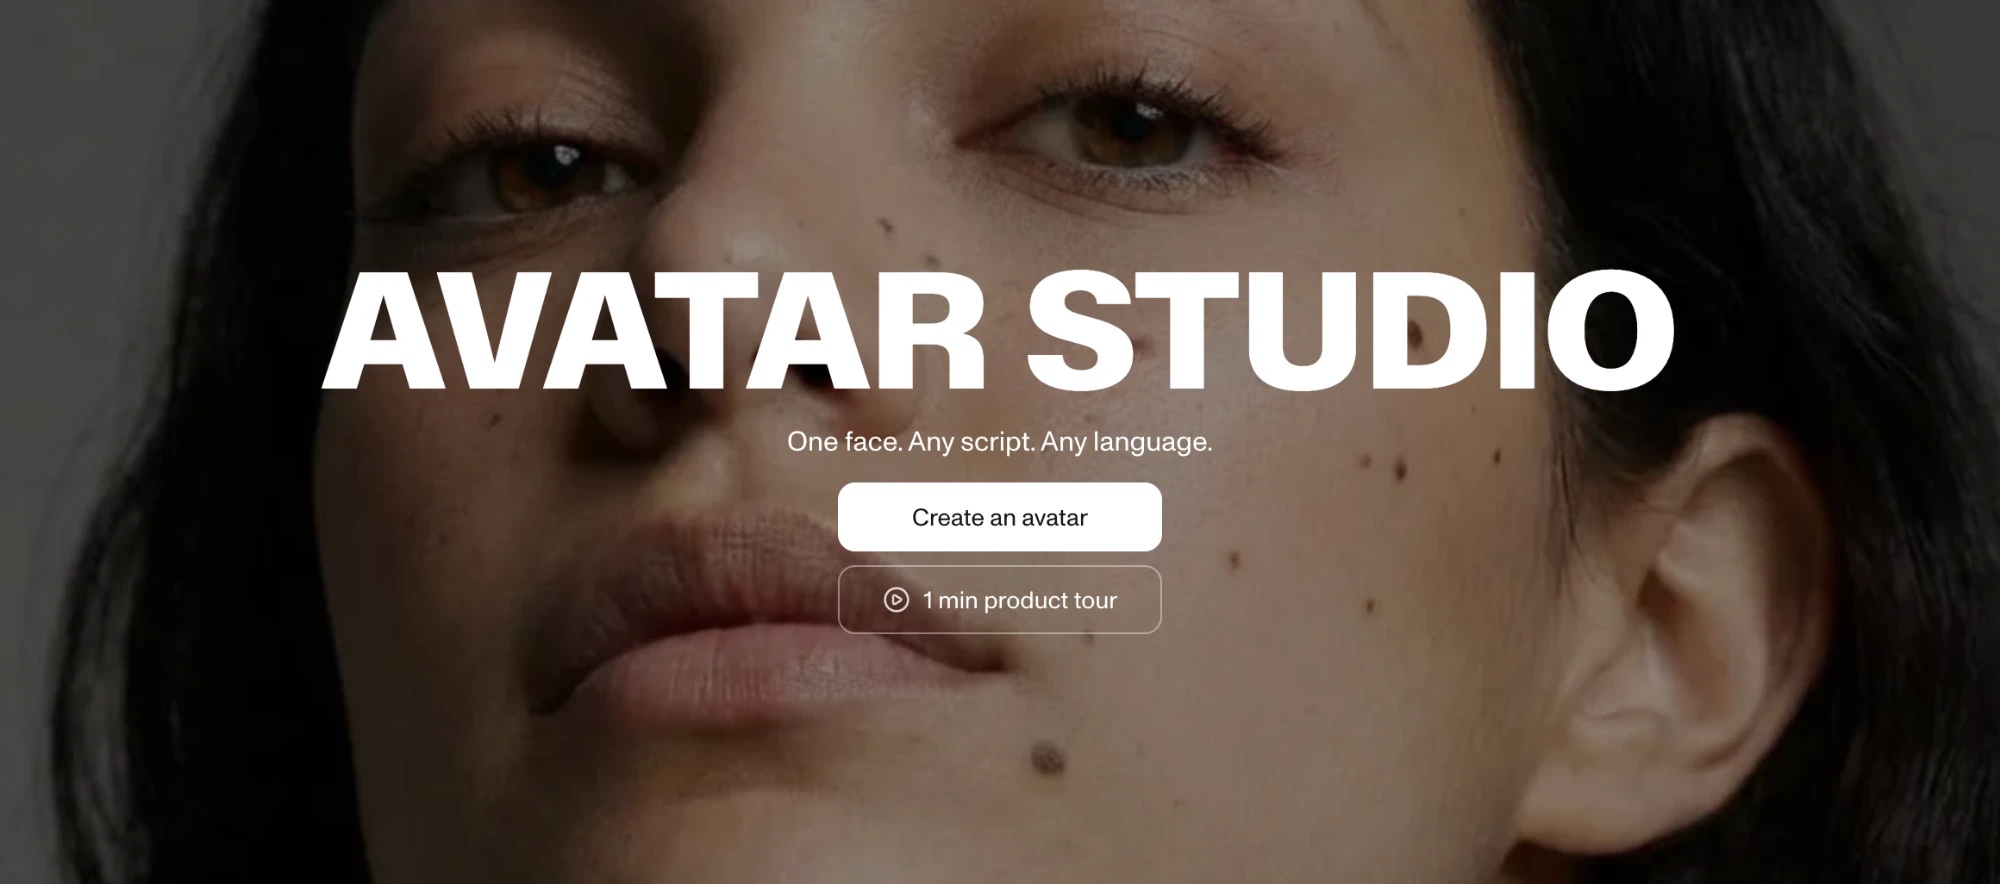
In MITO, open the left toolbar and click Avatar Studio, then hit Create an Avatar.
Step 2: Choose your face
Two options here.
Pick from the library. There is a long list of ready-made avatars, Alisa, Anina, Alec and plenty more. If you just need a presenter and it does not have to be you, pick one and move on.
Upload your own photo. This is the one for making a clone of yourself.
Two routes out of the same panel. The ring runs along the ready-made avatars and settles on the plus, which is the one you want if the face is going to be yours.
The single biggest factor in how good your avatar looks is the photo you hand it. High resolution, good lighting, face clearly visible, sharp focus. The better the input, the better the avatar, and no setting later in the process makes up for a soft photo at the start.
Got a photo you love that is low quality? Open a project in MITO, run the image through one of the image models to upscale it, download the result, then upload that to Avatar Studio. The image model guide breaks down what each one is good at.
Step 3: Name it and create
Give the avatar a name, ours is Josh 2.0, and click create.
MITO then studies the image and builds the things that make a face read as human on camera: blinking, eye movement, mouth shapes. It takes a moment. Once it is done, it needs a voice.
Step 4: Give it a voice, or clone your own
Option A: use the voice library. A big selection across accents, male and female, different speaking styles. Hit Play Sample on the right to preview any of them before committing.
Option B: clone your own voice. If the avatar is you, it should sound like you.
- Click Voice, then My Voices.
- Click Create Voice at the top and choose Clone a New Voice.
- Hit Start Recording. If you do not know what to say, there is a script at the bottom of the panel you can read.
- Once the voice is created, attach it to your avatar.
You need at least 20 seconds of audio. That is a lower bar than most voice tools ask for, and it is worth knowing you can record more than once. Giving it more of your range gets the clone closer to how you actually sound.
Step 5: Write your script and pick settings
Now write what your clone is going to say. For the video, we typed in the exact line you read at the top of this post, which means the tutorial generates its own intro.
Two settings to check before you generate:
- Resolution. If you are testing, choose 720p over 1080p. It renders faster, so you find out whether you like the result before committing to a full-quality version.
- Aspect ratio. 16:9 for horizontal YouTube. 9:16 for Shorts, Reels and TikTok.
Step 6: Generate, preview, download
Hit Generate. Longer scripts take longer, so timing depends on how much you wrote.
When it is ready, click play to preview. Happy with it? Download in the top right gives you an MP4, ready to post.
Level up: lip-sync your avatar to your real voice
Here is the honest bit about voice cloning: sometimes it does not sound exactly like you. Close, but a little off.
So skip the clone. Use your actual voice and have the avatar lip-sync to it.
Option A: record in MITO. Where you would normally type a script, switch the input from text to audio, then record yourself saying whatever you want the avatar to say. MITO dubs that recording onto your avatar and lip-syncs it, so the mouth matches your real voice word for word.
Option B: upload a file. Already have a recording? Upload it instead. Any common audio or video file works, so a clip you already shot is a valid source for the audio. Then hit Generate.
The result is your real voice coming out of your AI face. The only synthetic part left is the picture.
Which method should you use?
| Typed script, cloned voice | Your recording, lip-synced | |
|---|---|---|
| Speed | Fastest | Slower, you have to record |
| Realism | Close, occasionally off | Your actual voice |
| Script changes | Retype and regenerate | Re-record |
| Best for | High volume, fast iteration | When it really has to sound like you |
If you are making a lot of videos and iterating on scripts, clone the voice. If the video has to sound like you, record yourself.
One rule worth saying out loud
Clone yourself, or someone who has clearly agreed to it.
A face and a voice belong to the person they came from, and “the tool let me” has never been a defence. This is the one part of the workflow that has nothing to do with which buttons you press.
The short version. Pick a face, give it a voice, write a script, generate. And if you want it to sound exactly like you, record yourself and let the avatar lip-sync.
An avatar is one piece of a production rather than the whole thing. For how the models and platforms underneath all this fit together, see How AI Video Works. For a full build from one idea to a finished, scored film, see How to Make an AI Explainer Video, Start to Finish.
Frequently asked
- How long does it take to make an AI clone of yourself?
About five minutes for the setup: upload a photo, name the avatar, and record at least 20 seconds of audio for a voice clone. Generation time after that depends on how long your script is.
- What kind of photo works best for an AI avatar?
A high-resolution image with good lighting, sharp focus and your face clearly visible. If the photo you want to use is low quality, upscale it with one of MITO’s image models first, then upload the upscaled version.
- How much audio do I need to clone my voice?
At least 20 seconds. You can record more than once to give MITO more of your voice to work with, which gets the clone closer to how you actually sound. If you are not sure what to say, read the script at the bottom of the recording panel.
- Do I have to use my own face?
No. Avatar Studio includes a library of ready-made avatars you can pick from if you just need a presenter and it does not need to be you.
- Is it legal to make an AI clone of someone?
Clone yourself, or someone who has clearly agreed to it. Using a real person’s face or voice without their permission is the line, and it is the thing most likely to get a video taken down or land you in trouble regardless of which tool made it.
- What is the difference between voice cloning and lip-syncing to my real voice?
With voice cloning you type a script and MITO speaks it in a synthetic version of your voice. With lip-sync you record or upload your actual voice and MITO matches the avatar’s mouth to it. Cloning is faster at volume, lip-sync is the more realistic of the two.
- What file types can I upload for lip-sync?
Any common audio or video file, so mp3 and wav both work and so does a clip you already shot, which MITO takes the audio from. Upload it in place of a typed script, then hit Generate.
- Can I make vertical AI avatar videos for TikTok, Reels or Shorts?
Yes. Set the aspect ratio to 9:16 before you generate. Use 16:9 for horizontal YouTube videos.
- Should I generate in 720p or 1080p?
Use 720p while you are testing, because it renders faster and you find out whether you like the result before committing to a full-quality version. Switch to 1080p for the final.
The AI tool for cinematic video.
Generate, direct, and publish professional videos — powered by the best AI models.
More posts